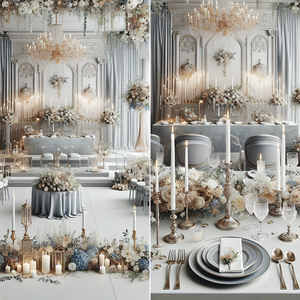
Wedding design · Step-by-step guide
To create a wedding mood board, choose a wedding style, a setting and a color palette, then bring those choices together in one visual reference. Review what you like, make any changes, and share the board with notes your vendors can use.
If your saved wedding ideas feel a little all over the place, that is a useful starting point. You might love the flowers in one photo, the tablecloth in another and the atmosphere of a completely different venue. A mood board helps you decide which of those details belong together.
Below, I’ll walk you through creating a board with our free Wedding Mood Board Creator, then show you how to turn it into a clearer design brief.
The quick version
Open the Creator and choose your wedding style → setting → colors. Review your choices and enter your email for delivery. When your board arrives, note the details you want to keep and discuss the practical choices with your florist, decorator or planner.
Two free mood boards are included. No account or credit card is needed.
Ready to try your ideas together?
Start with the wedding style you are drawn to. The Creator will guide you through the setting and colors.
Create My Free Wedding Mood BoardTwo free boards · Delivered by email · No account or credit card needed
What Is a Wedding Mood Board?
A wedding mood board is a collection of images and colors that shows the design direction you want to explore. It can bring your ceremony, flowers and reception details into one reference so you can see how the choices relate to each other.
A useful board gives you more information than a list of color names. For example, it can show whether you want loose garden flowers or structured arrangements, simple table settings or something more ornate.
You can make one manually by arranging images you have saved, or use a wedding mood board generator to create a starting concept from your preferences. Either way, the next step is deciding which details you actually want to use.
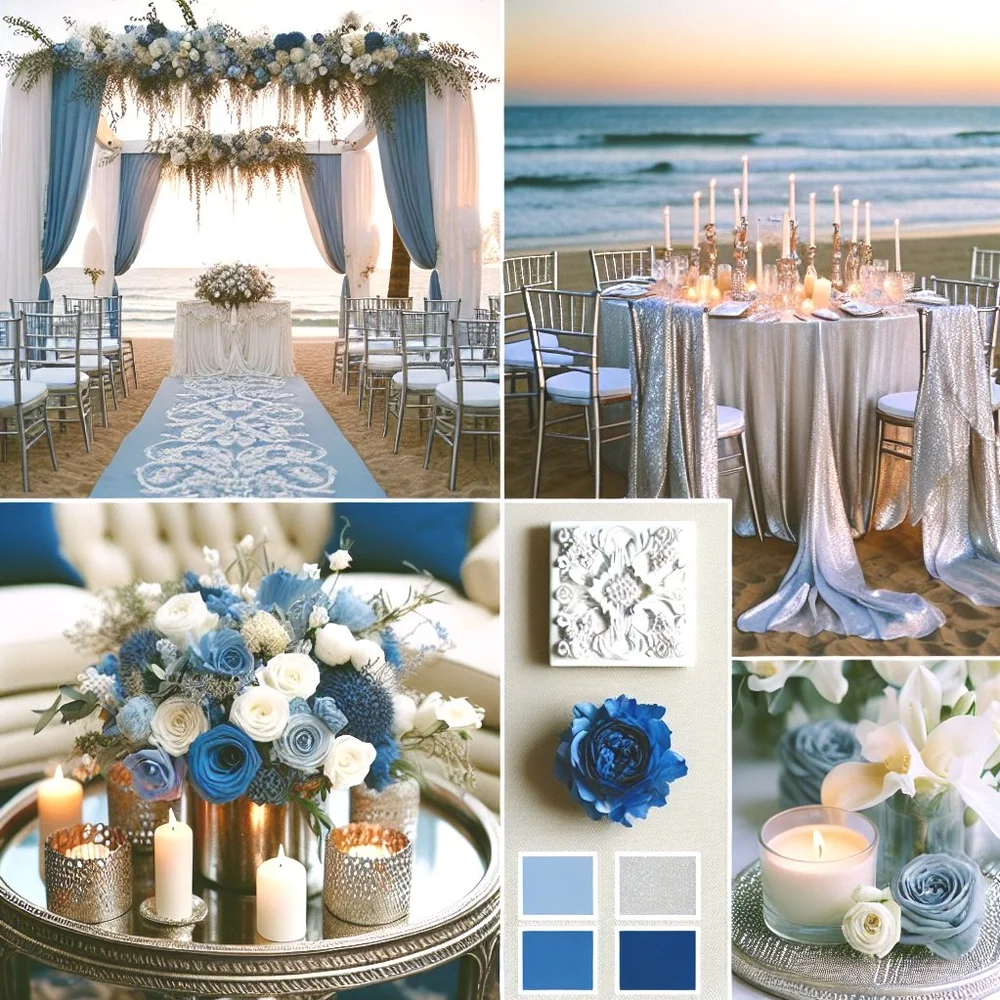
What Should You Include?
Give the board enough detail to explain your direction. You do not need to settle every purchase before you begin.
- Setting: a space that resembles your venue or the type of place you are considering.
- Color palette: the shades you want to explore together.
- Flowers: the colors, shapes and arrangement style you like.
- Table details: linens, napkins, place settings or candleholders that help explain the look.
- A focal area: a ceremony backdrop, head table or another feature that matters to you.
The generated layout is a concept. It may not include every item on your wish list, so keep a short note beside the board for anything especially important.
1. Choose Your Wedding Style
Look at the ideas you keep returning to and ask what you like about them. Perhaps it is the loose flowers, the pared-back tables or the warmth of the room. Those details are more useful than trying to find one label that describes everything.
In the Creator, start with Choose your wedding style. Browse the options or use the style search to find a direction you want to try.
If you are between two styles, begin with the one you feel most drawn to. You can go back and change it before creating your board, or use your second free board to explore a different direction.
My suggestion: choose based on the details you would enjoy seeing at your wedding. A beautiful reference can still belong to a different kind of celebration than the one you want.
2. Choose a Setting Like Your Venue
Next, choose your setting. If your venue is booked, select the closest available type of space. If you are still looking, choose somewhere you would like to celebrate and use the board to explore that possibility.
A timber venue, a bright ballroom and an outdoor garden already have different colors and features. Keeping the setting in mind makes your inspiration easier to apply later.
This choice describes a venue type. To explore a decorating concept using a photograph of your actual venue, use the Wedding Design Studio.
3. Choose and Adjust Your Wedding Colors
Browse the palettes in the Creator and use the color, feeling or season filters to narrow the choices. You can use a palette as it is or tap a swatch to change a shade. If you already have HEX codes, enter them in the color controls.
Start with a color you want to keep, then look at how the supporting shades work beside it. You may prefer one palette with a warmer ivory or a softer green. Small adjustments can be enough.
If you want to explore colors separately first, try the Wedding Color Palette Creator. Our guide to choosing wedding colors also explains how to compare your palette with the venue.
Keep physical samples for anything you plan to order. A digital palette helps explain your choices, while fabrics, flowers and printed pieces still need to be checked in person where possible.
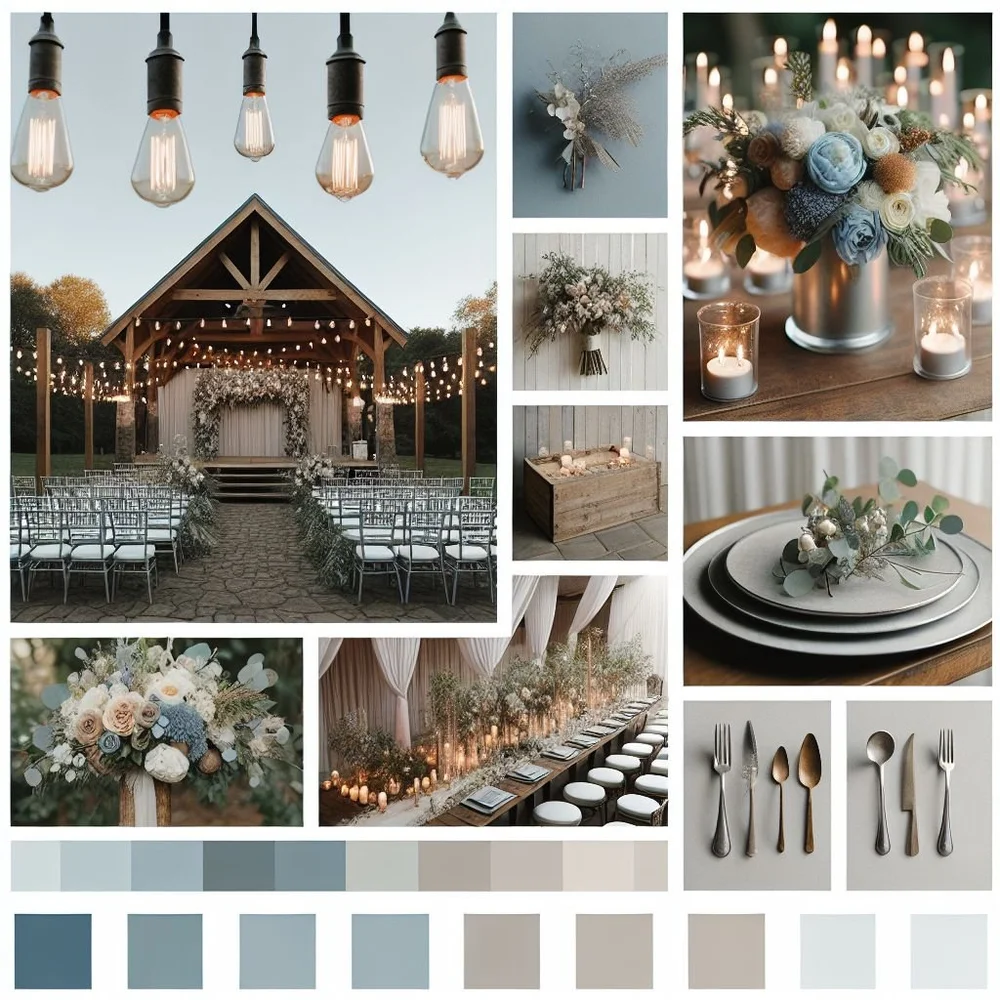
4. Review Your Choices and Create Your Board
Before submitting, check the style, setting and colors together. Go back if something feels wrong; you can change your choices before creating the board.
On the final review step, enter your first name and the email address where you want to receive it. Your wedding date is optional. Check the email spelling carefully, then submit your request.
When the board arrives, save the image somewhere easy to find. If you do not see the email after a few minutes, check your spam or promotions folder.
A Starting Example: A Soft Garden Wedding
You might choose a garden-inspired style, an outdoor garden setting and a palette of dusty rose, sage and ivory.
When you review the result, ask which part you like most. If it is the loose flowers and pale linens, keep those as your reference. If the image includes a large floral installation you do not want, note that beside the board.
A useful note could be: “We love the flower shapes and the light tables. We would prefer a smaller ceremony arrangement and fewer pink details.”
5. Review the Details and Refine Your Direction
Look at the whole board before focusing on an individual flower or chair. Does the overall setting feel right? Are the colors in the balance you hoped for? Which details would you be happy to use?
- Keep: identify the details you want to carry into your plans.
- Change: note anything too dark, too formal, too full or otherwise different from what you wanted.
- Ask: list the items that need a vendor’s advice, price or availability check.
If you use your second free board, change one main choice so the comparison is useful. For example, keep the setting and style while trying another palette, or keep the colors while exploring a different style.
You do not have to recreate the image exactly. Use it to identify what you like, then decide what fits your venue and spending plan.
6. Share Your Mood Board With Useful Notes
Send your preferred board to your partner and the vendors who need to understand the design. Explain the parts you want them to focus on, especially if some details in the image are only inspiration.
A message you can adapt:
“This board shows the direction we like for our wedding at [venue]. We especially love [details] and want to keep [colors or materials]. We would like to simplify or change [details]. Could you suggest options that suit our venue and budget, and let us know what samples or information you need?”
Ask your florist about flower availability and substitutions. Ask your decorator or rental supplier about sizes, materials and the setup involved. Your venue can confirm what is allowed in the space.
Keep the chosen board and notes together, and send an updated version if your direction changes. That gives everyone a clearer reference than a collection of separate messages.
Once your mood board gives you a direction, you may want to see how those ideas could look in your actual venue. Our guide to comparing wedding design tools explains when to use a mood board, a color palette creator or an AI venue visualizer.
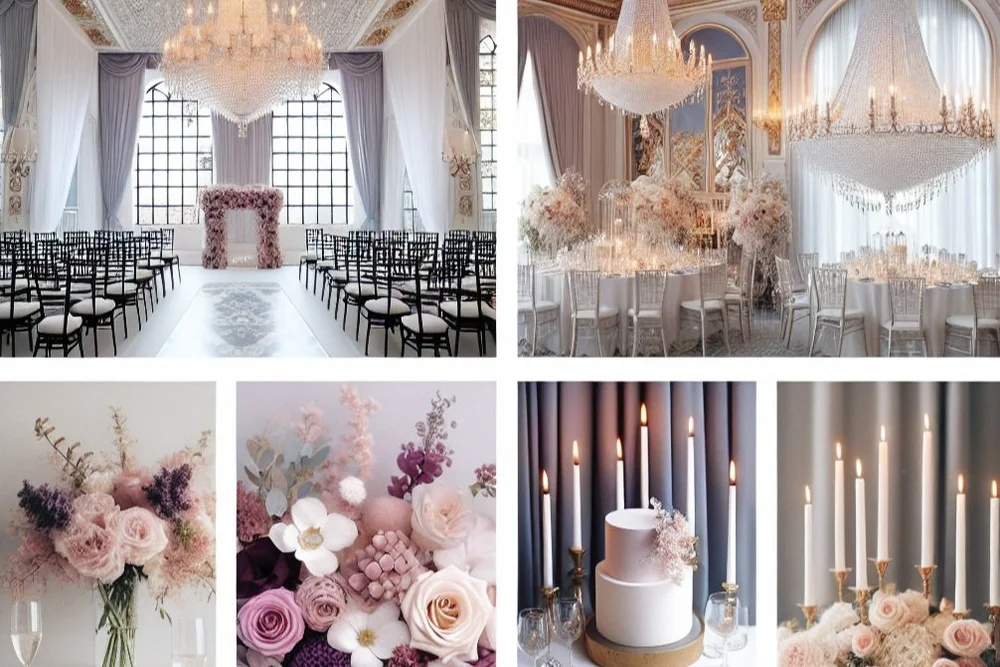
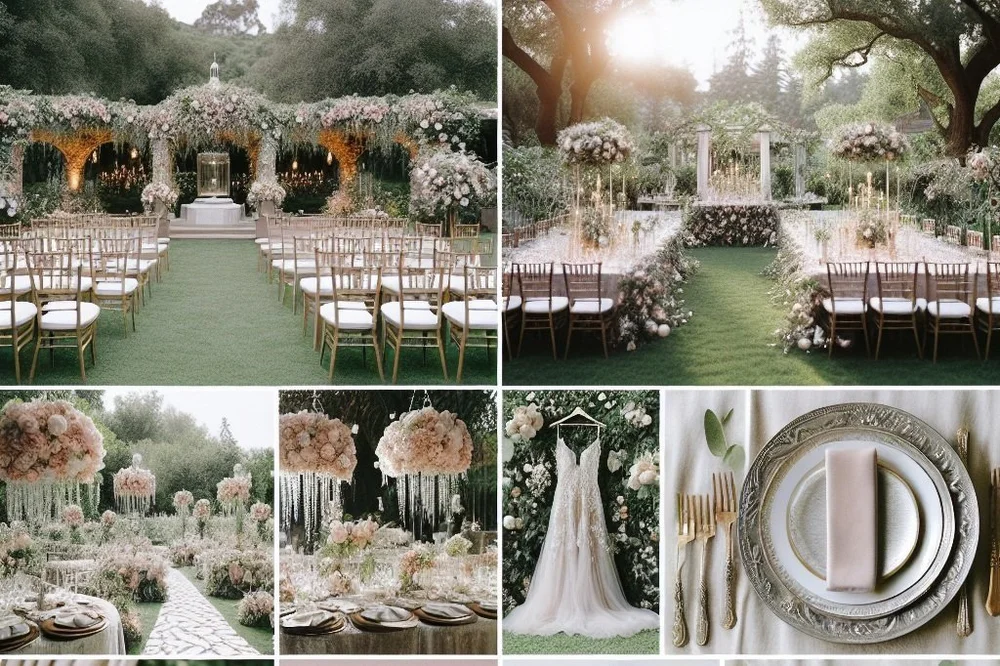
Wedding Mood Board Examples: Notice the Setting
These examples show how the space and decor choices affect the overall direction. Look at the architecture and table details as well as the colors.
A Mood Board, a Palette or a Venue Design?
These references help with different decisions. Choose the one that answers the question you are working on.
| Reference | What it helps you decide | Where to start |
|---|---|---|
| Color palette | Which shades you want to use together and share as color references. | Color Palette Creator |
| Wedding mood board | How your style, setting and colors could work together with decor details. | Mood Board Creator |
| Venue design concept | How decorating ideas could look against a photo of your actual space. | Wedding Design Studio |
A generated image is a planning reference. Confirm measurements, materials, availability and costs with your vendors before booking the design shown.
Before You Call Your Board Finished
- The setting resembles your venue or the type of space you are considering.
- You and your partner agree on the main colors and details.
- You have marked anything in the image you do not want to include.
- You have separated ideas you love from purchases or services you have actually approved.
- Your vendors know which board and notes are the current reference.
Once the direction feels right, use it to guide your next choices. Our wedding decoration planning guide can help you decide which areas to decorate and what to ask vendors before ordering.
Wedding Mood Board Questions
How do I create a wedding mood board for free?
Open the WeddingDecor.com Mood Board Creator, choose your wedding style, setting and colors, then review your choices and enter your email for delivery. Two free boards are included, with no account or credit card needed.
Do I need Pinterest photos before I start?
No. You can start with the style, setting and color choices in the Creator. If you already have saved photos, use them to work out which details you like and to compare those details with the board you receive.
What if I have not booked my venue?
Choose a setting you are considering, such as a garden or ballroom. Treat the board as a way to explore that direction, then review it against the real venue when you book.
Can I use my own wedding colors?
Yes. Choose a palette, then customize the shades or enter your HEX codes using the color controls. You can also explore combinations in the Color Palette Creator before making the board.
How many wedding mood boards should I make?
Start with one direction. If you are undecided about a main choice, use the second free board to compare a change in style or colors. Once you have a preferred direction, share one main board with clear notes rather than sending vendors several conflicting options.
Can a mood board show my actual wedding venue?
The free Mood Board Creator uses your chosen setting type. If you want to explore decor using a photograph of your actual venue, try the Wedding Design Studio. Your first venue design is free with an account, with no credit card needed.
Is a mood board enough for my florist or decorator?
It is a useful starting reference. Add notes about your priorities, venue and budget, then ask the vendor to confirm the available flowers or materials, dimensions and installation needs. The board does not replace a quote or an agreed design plan.
What should I do if my mood board email has not arrived?
Allow a few minutes and check your spam or promotions folder. If you still cannot find it, contact hello@weddingdecor.com with the email address you used so we can help.
Let’s Put Your Wedding Ideas Together
Choose a style you love, a setting like yours and a palette you want to explore. You can review each choice before creating your board.
Create My Free Wedding Mood BoardTwo free boards delivered by email. No account or credit card needed.